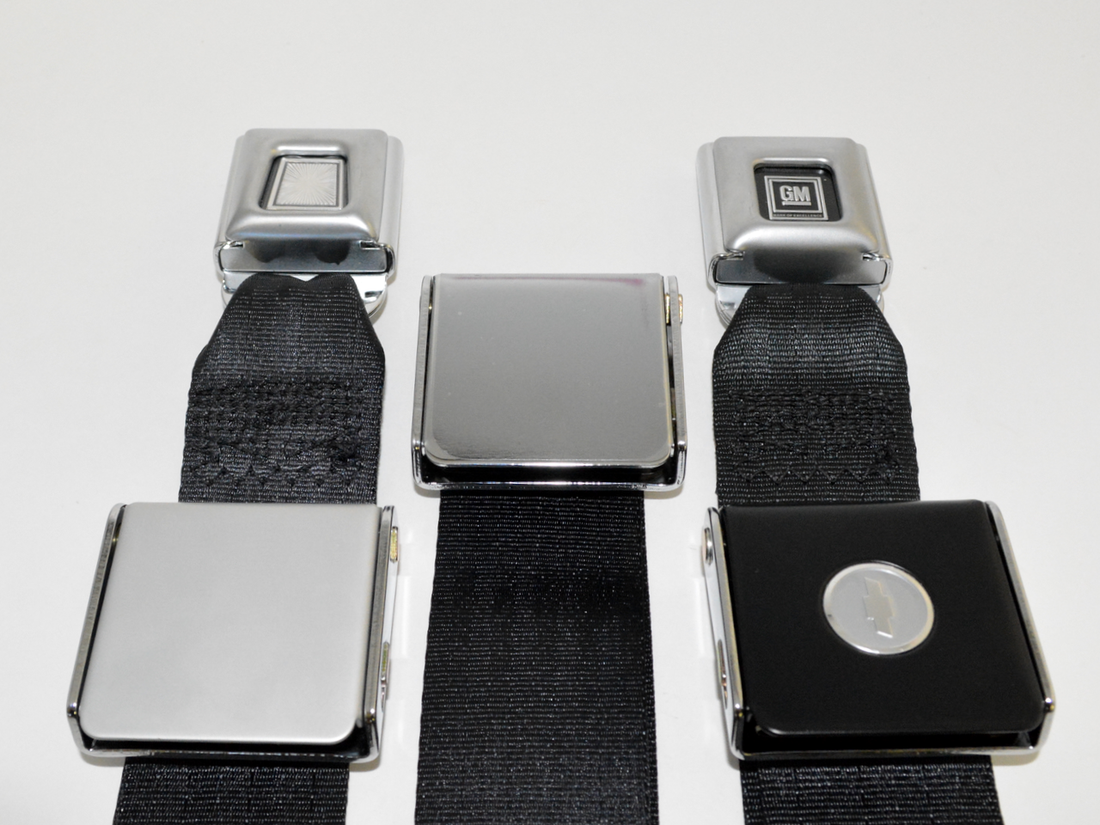
Installing classic car seat belts
- Remove any pre-existing seat belts from the car.
- Locate the factory mounting points
- Ensure that you have clean and properly tapped screw threads as well as clear holes through the vehicle’s carpeting.
- Align the bracket and reel so that the bracket hole will correctly align to the factory mounting point holes in the car’s floor pan.
- Put the bolt through the washer and tighten the reel to the floor pan according to SAE standards with the back of the reel facing towards the occupant.
- Locate the top mounting point (if applicable) and tighten the top-mounting bracket to SAE standards.
- Snap the plastic echelon piece down to cover the top mounting bracket
- Install the female end of the seat belt with the push button on the buckle facing away from the occupant and towards the tunnel.
- Tighten all bolts to SAE standards
This post is to be used as reference as each car's factory mounting locations will be different. General Motors started installing the top mounting location in February of 1966, Ford & Mopar began installing the top mounting location in 1968.
Each set of our seat belts will come with detailed printed instructions included in the box which detail installation for year and car specific seat belt installations.
Many of our customers our videos useful when installing their seat belts as well.
Our lap belts start as low as $30.00, visit our full online store today!
Morris Classic's Videos
